vue-route路由管理的安装与配置方法
Vue Router 是 Vue.js官方的路由管理器。它和 Vue.js 的核心深度集成,让构建单页面应用变得易如反掌。包含的功能有:
嵌套的路由/视图表 模块化的、基于组件的路由配置 路由参数、查询、通配符 基于 Vue.js 过渡系统的视图过渡效果 细粒度的导航控制 带有自动激活的 CSS class 的链接 HTML5 历史模式或 hash 模式,在 IE9 中自动降级 自定义的滚动条行为安装安装命令
npm install vue-router --save
如果在一个模块化工程中使用它,必须要通过 Vue.use() 明确地安装路由功能:
import Vue from ’vue’import VueRouter from ’vue-router’Vue.use(VueRouter)模块化使用
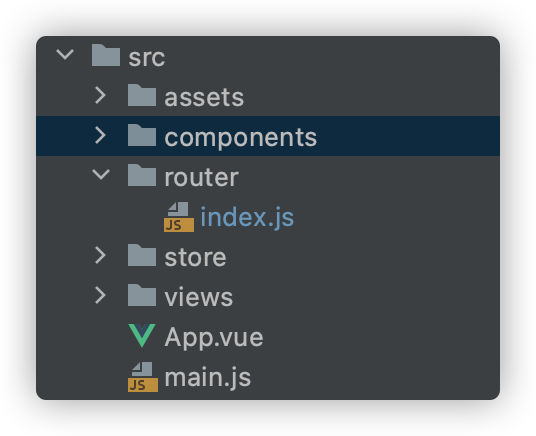
之前我们使用脚手架vue-cli创建项目时,实际已经配置好了router,创建完项目后,在项目根目录下会有一个router文件夹,router下有一个index.js文件,内容如下:
import Vue from 'vue';import VueRouter from 'vue-router';import Home from '../views/Home.vue';// 1. 当我们使用其他插件的时候,就必须使用Vue.use安装插件Vue.use(VueRouter);// 2. 定义路由,每个路由应该映射一个组件const routes = [ { path: '/', name: 'Home', component: Home, }, { path: '/about', name: 'About', component: About },];// 3. 创建router实例const router = new VueRouter({ // 配置路由和组件之间的应用关系 routes, // (缩写) 相当于 routes: routes});// 4. 导出router对象,然后在main.js中引用export default router;
这个文件是专门配置路由的,最后将router对象导出后,我们在项目的main.js中引用即可
import Vue from 'vue';import App from './App.vue';import router from './router';Vue.config.productionTip = false;new Vue({ router, // 在vue实例中添加router对象,就可以使用路由了 render: (h) => h(App),}).$mount('#app');
我们的2个组件代码About和Home代码如下:
// About.vue<template> <div class='about'> <h1>About</h1> </div></template><script>export default { name: 'About'}</script><style scoped></style>// Home.vue<template> <div class='home'> <h1>Home</h1> </div></template><script>export default { name: 'Home',};</script><style scoped></style>
最后我们在App.vue中,写入如下代码:
template> <div id='app'> <router-link to='/'>首页</router-link> <router-link to='/about'>关于</router-link> <router-view></router-view> </div></template><style lang='scss'></style>
使用<router-link>来加载链接,然后使用to表示跳转的链接。最终会把<router-link>渲染成<a>标签。<router-view>是路由的出口,也就是相应url下的代码会被渲染到这个地方来。
HTML5 history模式但是当我们启动程序,访问页面的时候,url地址上会出现#
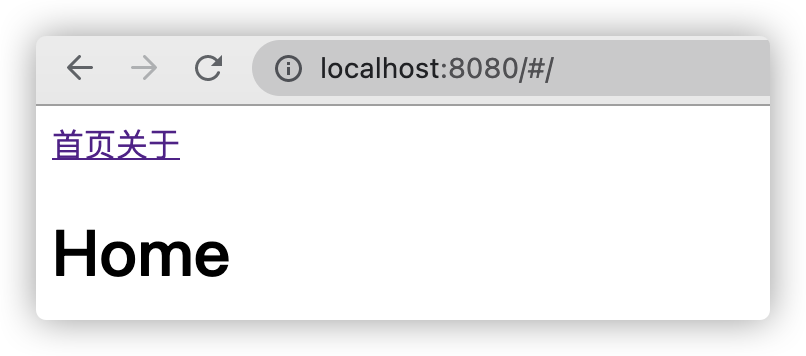
这是因为vue-router 默认 hash 模式 —— 使用 URL 的 hash 来模拟一个完整的 URL,于是当 URL 改变时,页面不会重新加载。如果不想要很丑的 hash,我们可以用路由的 history 模式,这种模式充分利用 history.pushState API 来完成 URL 跳转而无须重新加载页面。
const router = new VueRouter({ mode: ’history’, routes: [...]})
我们只需在router文件夹下的index.js中添加mode为history即可,之后重新访问,http://localhost:8080/就不会有#号了
注意:history模式还需要后台配置支持。因为我们的应用是个单页客户端应用,如果后台没有正确的配置,当用户在浏览器直接访问其他url地址就会返回 404,这就不好看了。
所以呢,你要在服务端增加一个覆盖所有情况的候选资源:如果 URL 匹配不到任何静态资源,则应该返回同一个 index.html 页面,这个页面就是你 app 依赖的页面。
到此这篇关于vue-route路由管理的安装与配置 的文章就介绍到这了,更多相关vue route安装与配置 内容请搜索好吧啦网以前的文章或继续浏览下面的相关文章希望大家以后多多支持好吧啦网!
相关文章:

 网公网安备
网公网安备