Python切割图片成九宫格的示例代码
这篇文字讲述如何使用Python把一张完整的大图切割成9份小图片,制作朋友圈九宫格图文分享。
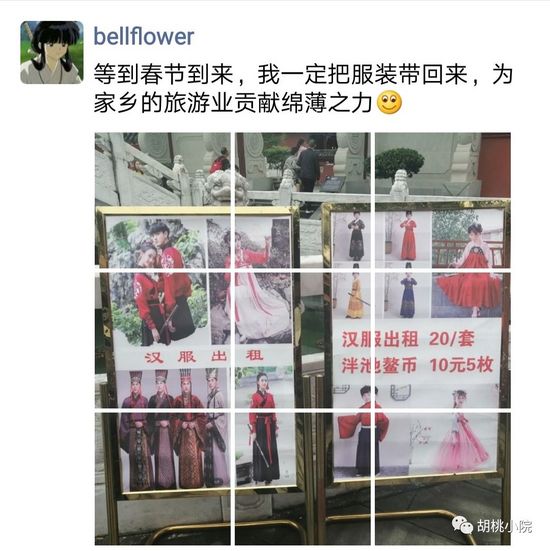
原图如下:

我们想要利用这张图制作高逼格的九宫格朋友圈分享。
达到类似于这样的效果:
实现原理非常简单,那就是利用PIL库对原图不断画小区域然后切下来存储成新的小图片。
假设每一个格子的宽和高分别是w、h,那么第row行(从0开始计数),第col列(从0开始计数)的格子左上角坐标和右下角坐标分别是(col * w, row * h),(col * w + w, r * h + h)。

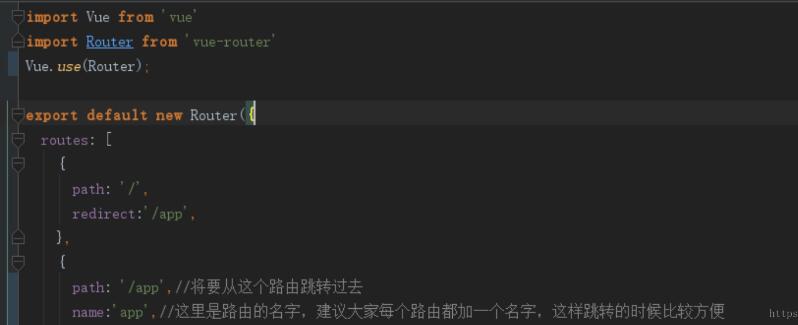
code snippet:#! /usr/local/bin/python3# -*- coding: utf-8 -*-fromPILimportImagedefcut_image(image):width, height = image.sizeitem_width = width /3.0item_height = height /3.0box_list = []forrowinrange(0,3):forcolinrange(0,3):box = (col * item_width, row * item_height,( col +1) * item_width,( row +1) * item_height)box_list.append( box )image_list = [image.crop(box)forboxinbox_list]returnimage_listdefsave_images(image_list):dirName =’output’ifFalse== os.path.exists( dirName ):os.makedirs( dirName )index =1forimageinimage_list:image.save(‘./output/python’+str(index) +’.png’,’PNG’)index +=1if__name__ ==’__main__’:image = Image.open('use.png')image_list = cut_image(image)save_images(image_list)
为了能在朋友圈中预览时看到所有图片的完整样子,建议保证自己的原始图片是正方形的,然后再运行这个脚本,在output中得到九张图片。最后,嗯,就可以去秀了!
总结
到此这篇关于Python切割图片成九宫格的文章就介绍到这了,更多相关Python切割图片 九宫格 内容请搜索好吧啦网以前的文章或继续浏览下面的相关文章希望大家以后多多支持好吧啦网!
相关文章:
 网公网安备
网公网安备