详解IDEA搭建springBoot方式一(推荐)
1.先在IDEA配置maven
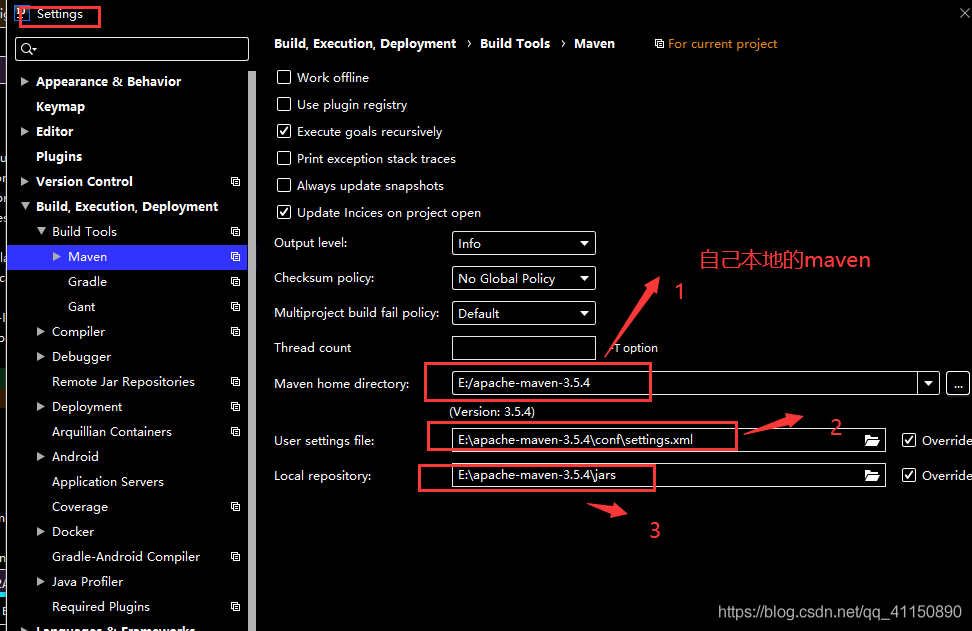
maven下载和配置可以看https://www.jb51.net/article/197309.htm
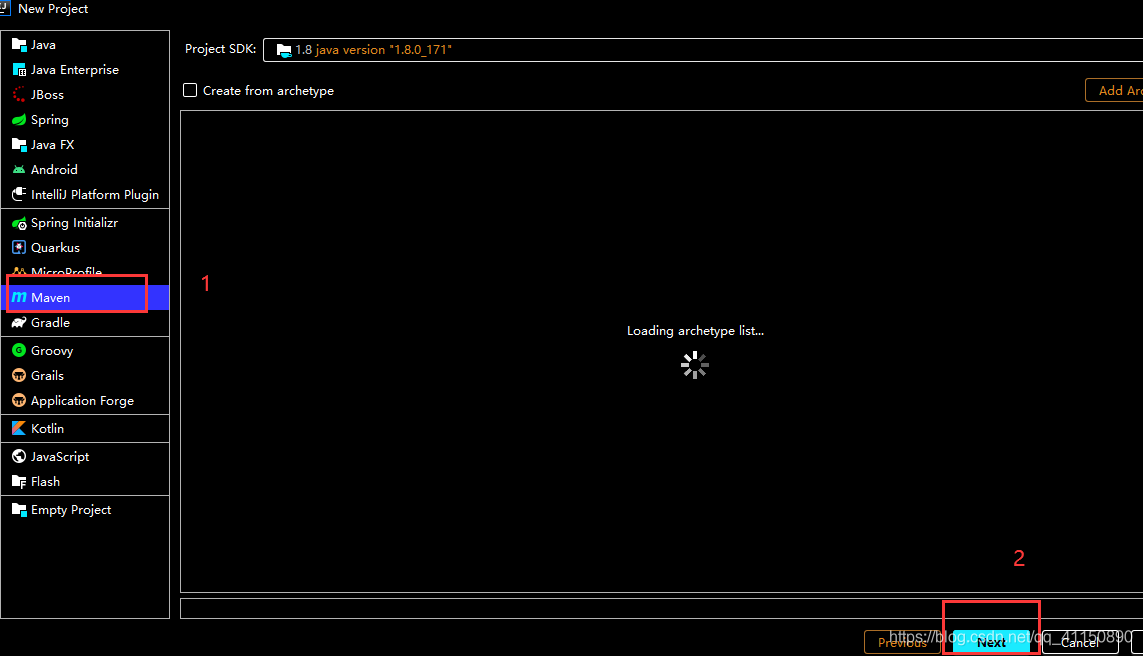
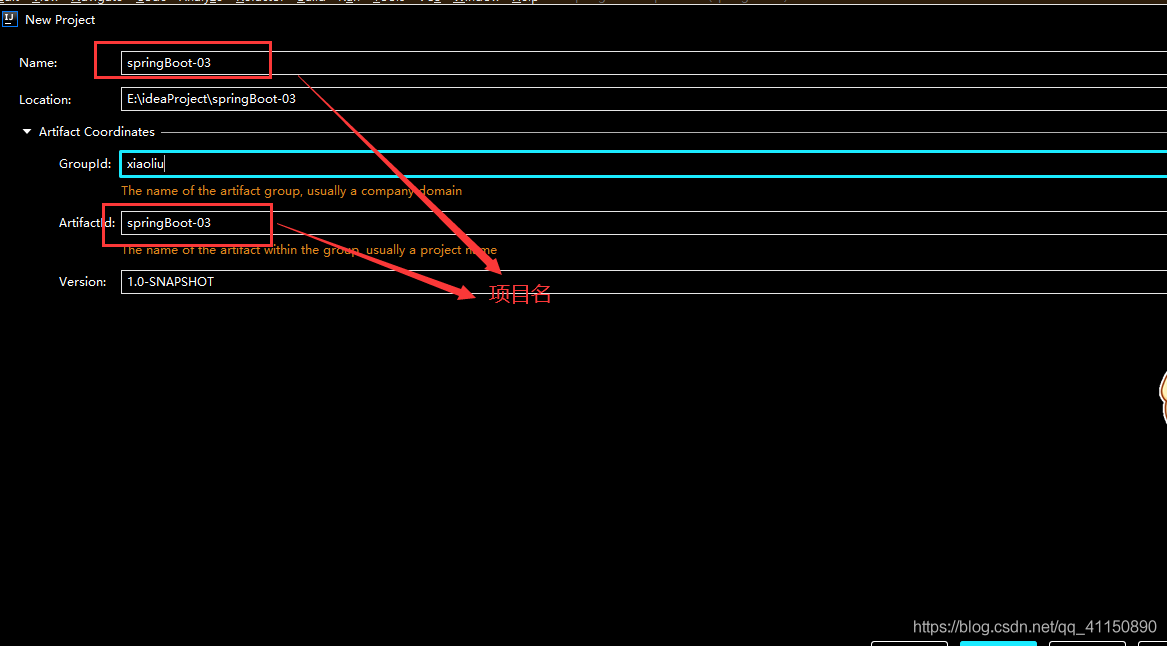
2.新建maven项目
3.在pom.xml加入springBoot依赖
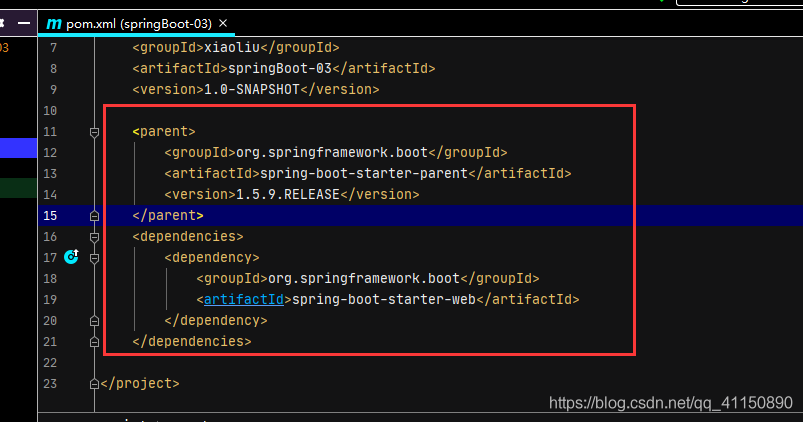
<parent> <groupId>org.springframework.boot</groupId> <artifactId>spring-boot-starter-parent</artifactId> <version>1.5.9.RELEASE</version> </parent> <dependencies> <dependency> <groupId>org.springframework.boot</groupId> <artifactId>spring-boot-starter-web</artifactId> </dependency> </dependencies>
4.创建类(用来启动项目),写如下代码

package xiaoliu;import org.springframework.boot.SpringApplication;import org.springframework.boot.autoconfigure.SpringBootApplication;@SpringBootApplicationpublic class SpringApplicationTest { public static void main(String[] args) { //启动spring应用 SpringApplication.run(SpringApplicationTest.class,args); }}
5.创建Controller 写代码如下

5.运行


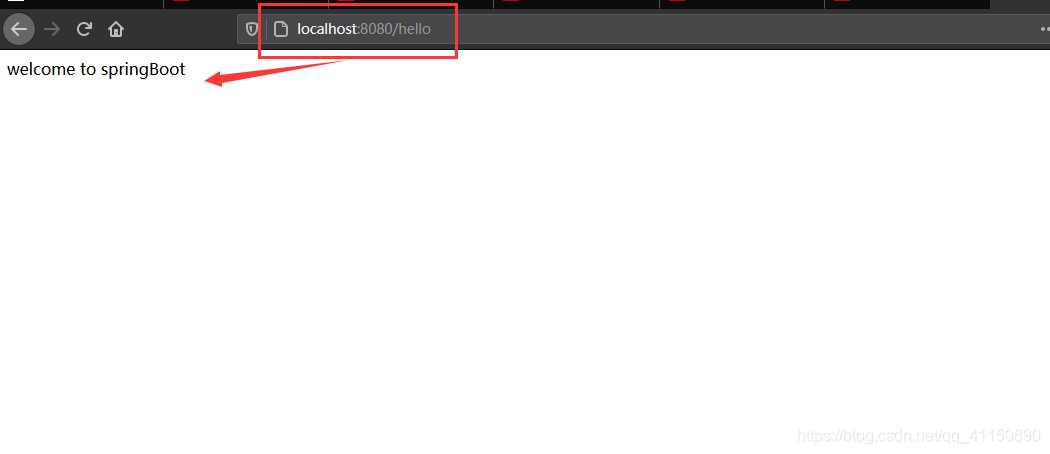
6.访问项目
在页面中输入http://localhost:8080/hello 即可访问项目。
可以用idea 打包 成jar然后用 java -jar hello.jar 运行springboot 项目springboot中已经自带了tomcat,所以可以没有tomcat环境
到此这篇关于IDEA搭建springBoot方式一的文章就介绍到这了,更多相关IDEA搭建springBoot内容请搜索好吧啦网以前的文章或继续浏览下面的相关文章希望大家以后多多支持好吧啦网!
相关文章:

 网公网安备
网公网安备